Toolmaking for Blacksmiths: A Comprehensive Guide
Introduction:
As a blacksmith, having the ability to create your own tools is an essential skill. Toolmaking not only allows you to tailor your equipment to suit specific tasks but also empowers you with the knowledge of how tools are constructed and can be repaired when necessary. In this article, we will delve into the world of toolmaking for blacksmiths, exploring various techniques and tips that will help you enhance your craft.
1. Understanding Tool Steel:
Before diving into the process of toolmaking, it is crucial to have a solid understanding of tool steel. Different types of steel possess varying properties such as hardness, toughness, and wear resistance. Choosing the right type of steel for each tool is essential to ensure its longevity and efficiency.
Some commonly used tool steels include high carbon steels like O1 or W1, which offer excellent hardness but may require regular maintenance due to their lower wear resistance. On the other hand, alloy steels like S7 or D2 provide higher wear resistance but may be slightly more challenging to work with during shaping.
2. Basic Tools for Toolmaking:
To embark on your journey as a toolmaker, there are several basic tools that you’ll need in your arsenal:
a) Forge: A forge is where metal is heated before being shaped using different techniques. It typically consists of a firepot fueled by coal or propane.
b) Anvil: An essential piece of equipment in any blacksmith’s shop, an anvil provides a solid surface for hammering and shaping metal.
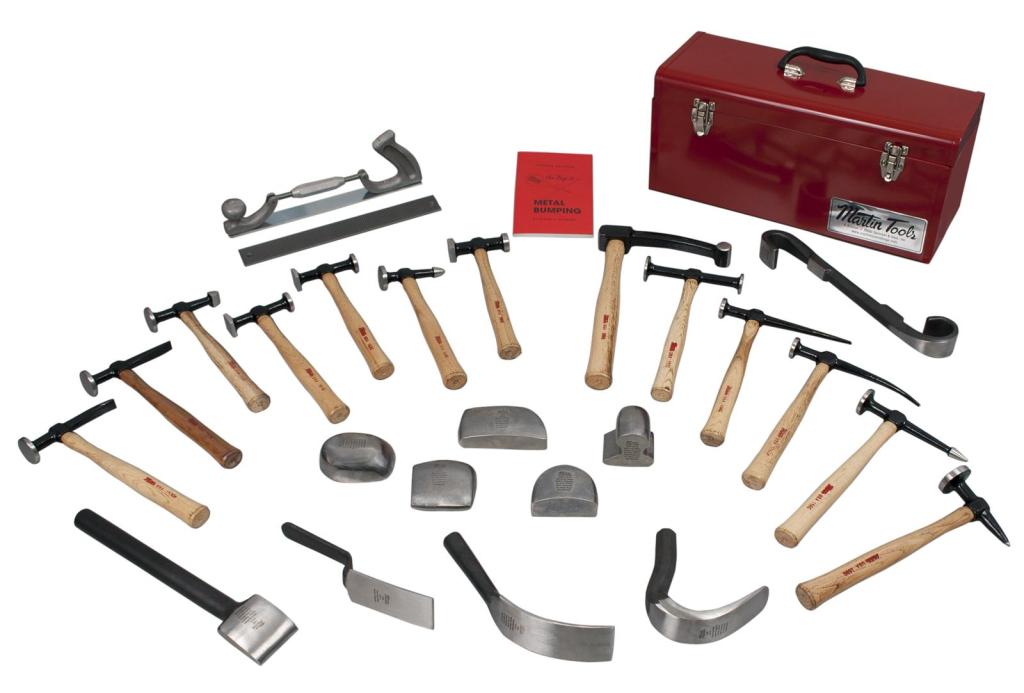
c) Hammers: Different types of hammers serve various purposes in the art of blacksmithing – from ball-peen hammers for general forging to cross-peen hammers used for precise shaping.
d) Tongs: Tongs allow you to hold hot pieces of metal securely while working on them. Various styles exist based on their intended use, such as flat jaw tongs for flat stock or wolf jaw tongs for round stock.
e) Files and Grinders: These tools are crucial for shaping and refining the edges of your tools. A combination of hand files and power grinders can help you achieve the desired finish.
3. The Toolmaking Process:
a) Designing Your Tools:
Before diving into the physical creation process, it’s essential to have a clear idea of what you want to accomplish. Sketch out your tool designs, considering factors such as intended use, ergonomics, and durability.
b) Material Selection:
Based on your design requirements, select an appropriate type of tool steel that aligns with the characteristics needed for your specific tool. Remember that different steels require varying heat treatment processes.
c) Cutting Stock:
Start by cutting a piece of steel from your chosen barstock using a hacksaw or angle grinder. Ensure the dimensions match your design specifications while leaving some extra material for subsequent shaping processes.
d) Shaping:
Now comes the exciting part – shaping your raw stock into its final form! Use a hammer and anvil to start forging the basic shape according to your design. Gradually refine the details by heating and carefully hammering until you achieve the desired result.
e) Heat Treatment:
Heat treating is a critical step in ensuring that your tools possess excellent hardness and resistance to wear. It typically involves three stages: heating (to critical temperature), quenching (rapid cooling), and tempering (reducing brittleness). Follow specific heat treatment instructions tailored to the type of steel you’re working with.
f) Grinding & Finishing:
After heat treatment, grind any excess material off using files or grinders until you reach precise dimensions specified in your design. Pay close attention to achieving smooth edges without compromising strength or functionality.
g) Handle Installation:
If applicable, attach handles onto certain tools like chisels or punches. Ensure a secure and ergonomic fit by using appropriate techniques such as drifts, rivets, or epoxy.
4. Tips for Successful Toolmaking:
a) Safety First:
Always prioritize safety when working in your blacksmithing shop. Wear protective gear such as gloves, safety glasses, and heat-resistant aprons to prevent any accidents.
b) Regular Maintenance:
Maintain your tools regularly to ensure their longevity and optimal performance. Sharpen edges as needed, oil them to prevent rust formation, and store them properly when not in use.
c) Continuous Learning:
Toolmaking is an evolving craft with endless possibilities. Never stop learning new techniques, exploring different tool designs, and seeking inspiration from other blacksmiths’ work.
d) Collaboration & Sharing:
Joining local blacksmithing groups or online communities allows you to connect with like-minded individuals who can offer valuable insights. Sharing your knowledge and experiences benefits both yourself and the broader blacksmithing community.
Conclusion:
Toolmaking is an invaluable skill for any blacksmith looking to elevate their craft. By understanding steel properties, acquiring basic tools, mastering the toolmaking process outlined here, and adhering to essential tips for success – you’ll be well on your way to creating custom-made tools that perfectly suit your needs as a modern blacksmith. Embrace the art of toolmaking; it’s a journey that will enhance both your skills and creative expression within the world of blacksmithing!
