Jewelry Making in Blacksmithing: A Guide for Modern Blacksmiths
Blacksmithing has a long and rich history, dating back thousands of years. Traditionally, blacksmiths were known for creating tools and weapons. However, this ancient craft has evolved to include other artistic endeavors, such as jewelry making. If you’re a modern blacksmith looking to expand your skillset and create stunning pieces of wearable art, here is a step-by-step guide to help you get started.
1. Planning and Design:
Before diving into the actual forging process, it’s essential to have a clear vision of the piece you want to create. Sketch out your design on paper or use computer-aided design (CAD) software if you prefer a digital approach. Consider the materials you want to incorporate, whether it’s silver, gold, copper or even mixed metals.
2. Material Selection:
Once your design is finalized, it’s time to select the right materials for your project. Jewelry-making requires different types of metal compared to traditional blacksmithing projects like blades or horseshoes. Look for high-quality precious metals that are suitable for jewelry making – they should be malleable enough for shaping but durable enough not to lose their form easily.
3. Metal Preparation:
Prepare your chosen metal by heating it in a forge until it reaches its optimal temperature for shaping – typically between 1,200°F and 2,500°F depending on the type of metal used. Use tongs or specialized holding tools designed specifically for jewelry making when handling heated metals.
4. Forging Techniques:
Various forging techniques can be employed in jewelry making:
a) Bending: Using hammers or specialized bending tools with rounded edges allows you to shape the metal precisely according to your design.
b) Texturing: Create unique textures on your piece by using different hammer heads with patterns or by applying pressure with textured surfaces.
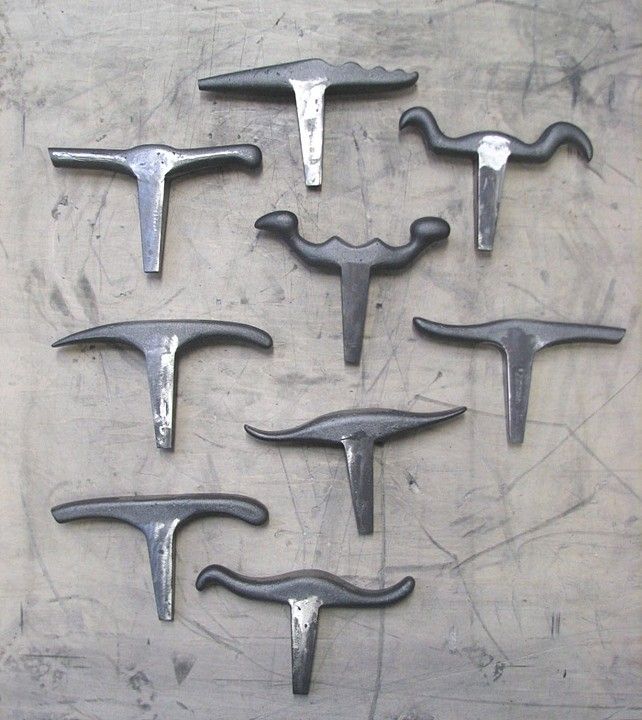
c) Forming: Use anvils, stakes, or mandrels to shape the metal into curves, domes, or other desired forms.
d) Joining: Employ techniques such as soldering or riveting to connect different metal pieces together.
5. Finishing Touches:
Once you’ve shaped and joined your piece, it’s time to add those final touches that elevate your jewelry from a raw piece of metal to a beautiful wearable art. This includes polishing the surface using sandpaper or specialized polishing tools, buffing with a soft cloth for added luster, and even adding gemstones if desired.
Remember that blacksmithing is an art form that requires practice and patience. Don’t be discouraged if your first attempts at jewelry making don’t turn out exactly as planned – learning from mistakes is part of the creative process. Keep refining your skills by experimenting with different designs and techniques until you achieve mastery over this ancient craft.
In conclusion, jewelry making in blacksmithing offers modern blacksmiths an exciting opportunity to combine their forging skills with artistic expression. By following these steps – planning and design, material selection, metal preparation, forging techniques, and finishing touches – you’ll be well on your way to creating stunning handmade jewelry pieces that showcase both your craftsmanship and creativity. So go ahead and unleash your inner artist; the world is waiting for you to forge unique masterpieces!
