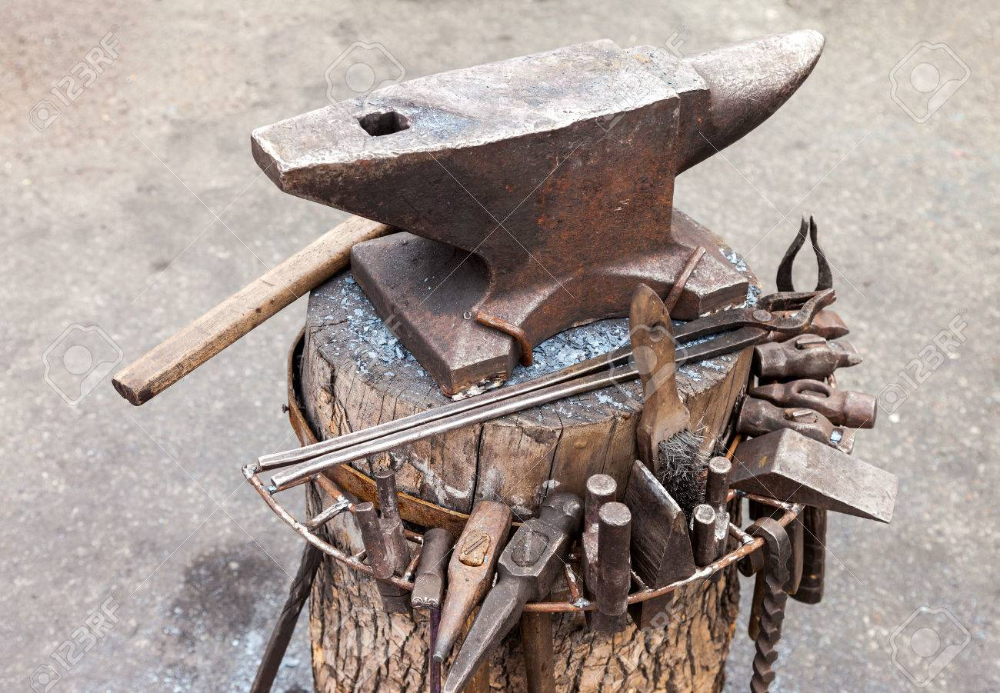
In the world of blacksmithing, creating custom tools is an art form that requires skill, creativity, and a deep understanding of the craft. These unique tools not only serve practical purposes but also reflect the personality and style of the blacksmith who made them. If you are a modern blacksmith looking to enhance your repertoire or simply a beginner eager to venture into this fascinating field, read on as we explore the process of creating custom tools.
The first step in crafting custom tools is identifying your specific needs. Take some time to assess which tools would be most beneficial for your work. Do you require specialized tongs for handling certain materials? Or perhaps you need a particular type of hammer with specific weight and balance? Understanding what you require will guide you through the design process.
Next, it’s time to unleash your imagination and design skills. Sketch out rough ideas on paper or use digital design software if you prefer working digitally. Consider factors like ergonomics, functionality, and aesthetic appeal while designing your tool. Don’t hesitate to experiment with different shapes, sizes, and materials until you find the perfect combination.
Once you have finalized your design concept, it’s time to gather all necessary materials and equipment. Blacksmithing typically requires sturdy metals such as steel or iron. Depending on the complexity of your project, various hand tools like hammers, chisels, files, and grinders may be needed as well.
Now comes the exciting part – forging! Fire up your forge and heat up the metal until it reaches its malleable state known as “forging temperature.” Using traditional techniques like hammering or pressing against an anvil or using power hammers or hydraulic presses allows you to shape the metal according to your design.
Throughout this process remember that patience is key; take breaks when needed but always remain focused on achieving precision in every strike.
After shaping the tool’s main body comes refining its details: filing down rough edges, smoothing surfaces, and ensuring proper balance. This step is crucial to creating a functional and ergonomic tool.
Once your custom tool has taken shape, it’s time for heat treatment. Heating the metal to specific temperatures and then rapidly cooling it helps strengthen the tool, making it more durable and resistant to wear. Techniques such as quenching in oil or water and tempering at lower temperatures are commonly employed during this stage.
The final step involves adding finishing touches to your masterpiece. Polishing, sanding, or coating the tool with protective finishes can enhance its appearance while also providing longevity against rust or corrosion.
Creating custom tools allows blacksmiths to showcase their creativity and craftsmanship while meeting their individual needs. It’s a process that marries practicality with artistry, resulting in tools that are both aesthetically pleasing and highly functional.
So whether you’re an experienced blacksmith looking to expand your collection or a beginner eager to embark on this fulfilling journey, don’t hesitate – start creating your own custom tools today! With practice, patience, and dedication, you’ll soon have an array of unique implements that truly reflect your passion for modern blacksmithing.
