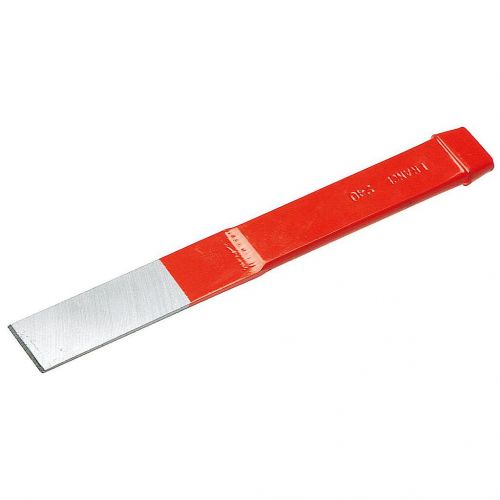
As a blacksmith, you know that having the right tools for the job is essential. And when it comes to making custom hot chisels, having personalized and high-quality tools can make all the difference in your work.
Hot chisels are an essential tool in any blacksmith’s arsenal. They’re used to cut or shape hot metal quickly and efficiently. But not all hot chisels are created equal – some may be too dull, too thin or too thick to do the job correctly.
This is where making custom hot chisels comes into play. By creating your own customized hot chisel, you’ll have complete control over its design and functionality. You can tailor it to fit your specific needs and preferences.
To start making your own custom hot chisel, you’ll need a few basic tools:
– A forge
– Anvil
– Hammer
– Tongs
– Steel stock
Once you have these items ready, follow these steps to create your custom hot chisel:
Step 1: Choose Your Stock
The first step in making a custom hot chisel is choosing the type of steel stock you want to use. For most blacksmiths, high-carbon steel works best as it’s durable and holds up well under extreme temperatures.
Step 2: Cut Your Stock
Next, cut off a piece of steel stock that’s slightly larger than what you’ll need for your final product. This will give you room to adjust its length as needed.
Step 3: Heat It Up
Heat up the steel stock using your forge until it reaches bright orange heat (around 1,500 degrees Fahrenheit).
Step 4: Shape The Tip
Using tongs and a hammer on an anvil with a flat surface or horn side up (depending on how much curve is desired), begin shaping one end of the heated steel into a tapered point by hammering along one side while rotating the piece. You can also use a power hammer or press to shape it, but hand forging is more traditional.
Step 5: Flatten The Blade
Once you’ve shaped the tip of your hot chisel, move on to flattening the blade section. Use a combination of hammers and anvil surfaces to create the desired flatness.
Step 6: Shape The Handle
After shaping the blade, it’s time to create the handle. Heat up one end of your steel stock again and begin shaping it into a handle using tongs and hammers. Consider ergonomics when doing this since you’ll be holding and swinging this tool for extended periods.
Step 7: Harden And Temper The Chisel
To harden your hot chisel, heat it up until it glows bright red and then quench in oil or water (depending on the type of steel used). Next tempering will give toughness without being too brittle by heating at lower temperatures than hardening – around brownish-purple color range for most high-carbon steels.
And there you have it – your very own custom-made hot chisel!
Making custom hot chisels can be a fun project that allows you to explore different designs and techniques while creating tools uniquely suited to your needs as a blacksmith. With personalized hot chisels in hand, you’ll have greater control over your workpieces’ shapes while bringing out their full potential.
In conclusion, making custom hot chisels isn’t just about having better tools; it’s also about honing your skills as a blacksmith by experimenting with new techniques and designs. So go ahead – try making one today!
